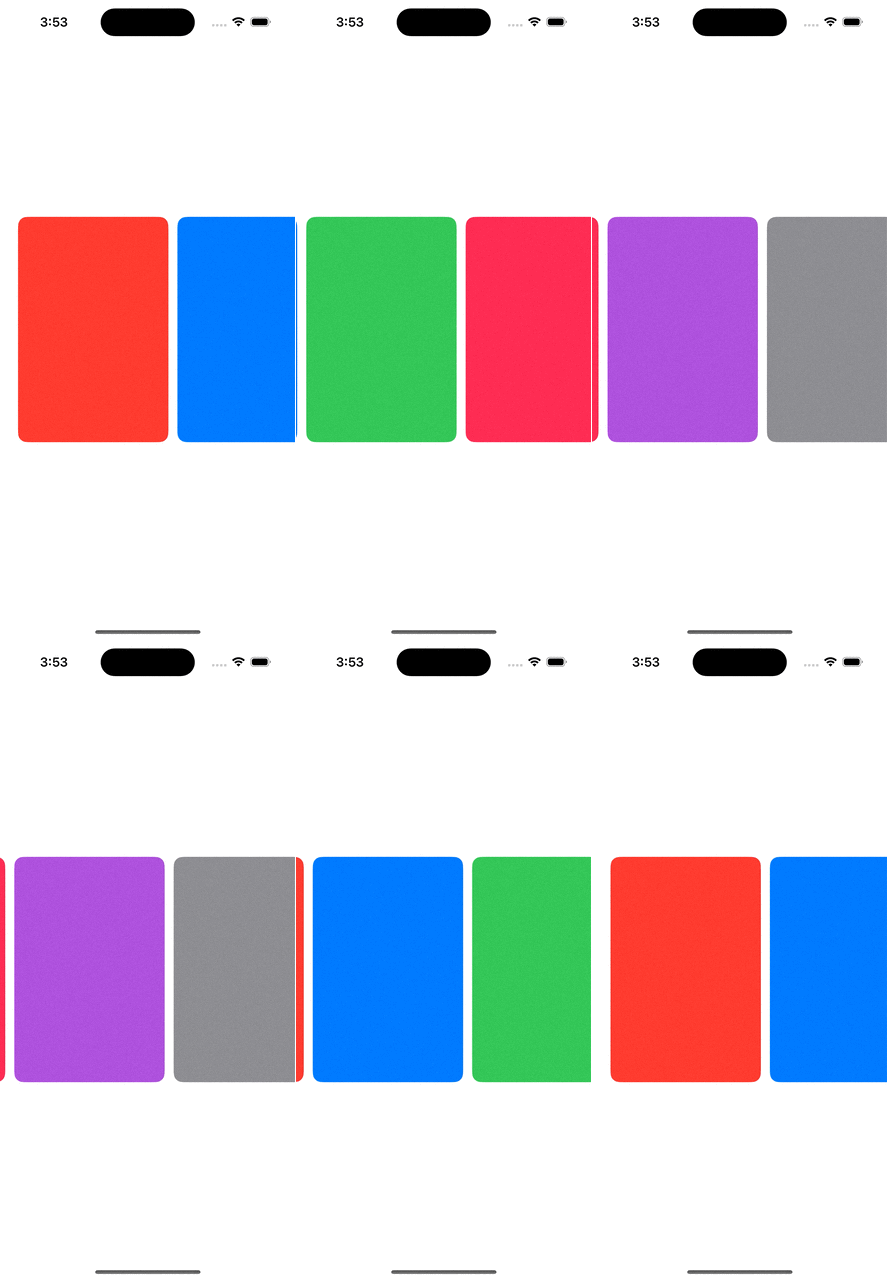
[SwiftUI] scrollTargetLayout과 ScrollTargetBehavior
iOS 17 이전까지 ScrollView는 제한적인 부분이 많았다. 특히 오프셋을 직접 구현해서 페이징 기능을 커스텀으로 만들어야 하는 불편함이 있었지만, 애플이 iOS 17에 scrollTargetLayout과 scrollTargetBehavior를 추가하면서 이제 단 두 줄의 코드만으로 이 기능 구현이 가능해졌다.
우선, 해당 기능에 대해 애플문서로 간략하게 알아보자.
정의
scrollTargetLayout
- 스크롤 액션이 일어날 때 어떤 레이아웃을 기점으로 스크롤이 이루어질지 정하는 역할을 한다.
- ViewAlignedScrollTargetBehavior와 함께 사용되어 스크롤 뷰가 특정 뷰나 콘텐츠에 정확히 정렬되도록 돕는다.

ScrollTargetBehavior
- 스크롤 가능한 뷰의 스크롤 동작을 정의하는 프로토콜이다. Paging과 View Aligned 방식이 있다.

구현
1. 기본 ScrollView UI 구성

구현코드
import SwiftUI

struct CarouselViewSwiftUI: View {

    /// Carousel에서 보여줄 색상 배열
    let colors: [Color] = [.red, .blue, .green, .pink, .purple]

    /// 아이템 사이 간격
    let itemSpacing: CGFloat = 12
    /// 아이템 너비
    let itemWidth = 200

    var body: some View {

        ScrollView(.horizontal) {

            HStack(alignment: .center, spacing: itemSpacing) {

                ForEach(colors, id: \.self) { color in
                    color
                        .frame(width: CGFloat(itemWidth), height: 300)
                        .cornerRadius(12)
                } // forEach

            } // hStack
            .padding(.leading, 24)

        } // scrollView
        .scrollIndicators(.hidden)
        .frame(height: 300)

    } // body
} // view
이 코드는 우리가 아는 기본적인 ScrollView다. 드래그하면 콘텐츠가 스르륵~ 부드럽게 넘어간다.
2. ScrollTargetBehavior.paging 적용

구현코드
import SwiftUI

struct CarouselViewSwiftUI: View {

    /// Carousel에서 보여줄 색상 배열
    let colors: [Color] = [.red, .blue, .green, .pink, .purple]

    /// 아이템 사이 간격
    let itemSpacing: CGFloat = 12
    /// 아이템 너비
    let itemWidth = 200

    var body: some View {

        ScrollView(.horizontal) {

            HStack(alignment: .center, spacing: itemSpacing) {

                ForEach(colors, id: \.self) { color in
                    color
                        .frame(width: CGFloat(itemWidth), height: 300)
                        .cornerRadius(12)
                } // forEach

            } // hStack
            .padding(.leading, 24)

        } // scrollView
        .scrollIndicators(.hidden)
        .scrollTargetBehavior(.paging) // <<<<< 스크롤 방식 정의
        .frame(height: 300)

    } // body
} // view
.scrollTargetBehavior(.paging)을 ScrollView에 추가하면, 스르륵~ 넘어가던 스크롤이 스륵탁! 하며 페이지 단위로 끊어지는 것을 확인할 수 있다. 이 모디파이어는 스크린 너비가 스크롤 오프셋이 되도록 설정한다.
그런데..... 단순히 페이징 기능이 필요하면 tabView를 쓰는 게 더 낫지 않을까... 하는 생각도 들었다.
3. ScrollTargetBehavior.viewAligned와 scrollTargetLayout 적용
3.1. .viewAligned만 적용했을 때

구현코드
import SwiftUI

struct CarouselViewSwiftUI: View {

    /// Carousel에서 보여줄 색상 배열
    let colors: [Color] = [.red, .blue, .green, .pink, .purple, .gray, .mint]

    /// 아이템 사이 간격
    let itemSpacing: CGFloat = 12
    /// 아이템 너비
    let itemWidth = 200

    var body: some View {

        ScrollView(.horizontal) {

            HStack(alignment: .center, spacing: itemSpacing) {

                ForEach(colors, id: \.self) { color in
                    color
                        .frame(width: CGFloat(itemWidth), height: 300)
                        .cornerRadius(12)

                } // forEach

            } // hStack
            .padding(.leading, 24)

        } // scrollView
        .scrollIndicators(.hidden)
        .scrollTargetBehavior(.viewAligned) // <<<<< 스크롤 방식 정의
        .frame(height: 300)

    } // body
} // view
.scrollTargetBehavior(.viewAligned)로 변경하면, .paging과 달리 부드럽게 스크롤이 동작하지만 랜덤하게 멈추는 현상이 발생한다. 이때 scrollTargetLayout()을 사용하면 아이템(색상) 단위로 멈추게 구현할 수 있다.
3.2. .viewAligned와 scrollTargetLayout 함께 적용했을 때

구현코드
import SwiftUI

struct CarouselViewSwiftUI: View {

    /// Carousel에서 보여줄 색상 배열
    let colors: [Color] = [.red, .blue, .green, .pink, .purple, .gray, .mint]

    /// 아이템 사이 간격
    let itemSpacing: CGFloat = 12
    /// 아이템 너비
    let itemWidth = 200

    var body: some View {

        ScrollView(.horizontal) {

            HStack(alignment: .center, spacing: itemSpacing) {

                ForEach(colors, id: \.self) { color in
                    color
                        .frame(width: CGFloat(itemWidth), height: 300)
                        .cornerRadius(12)

                } // forEach

            } // hStack
            .scrollTargetLayout() // <<<<< 추가
            .padding(.leading, 24)

        } // scrollView
        .scrollIndicators(.hidden)
        .scrollTargetBehavior(.viewAligned) // <<<<< 스크롤 방식 정의
        .frame(height: 300)

    } // body
} // view
HStack에 .scrollTargetLayout()을 추가하면, viewAligned 모디파이어는 각 아이템의 오프셋이 (기본적으로) 가운데로 오도록 스크롤을 정렬해 준다. iOS 17에서 추가된 이 두 가지 모디파이어 덕분에 ScrollView의 페이징 및 정렬 기능 구현이 훨씬 간편해졌다.
References
https://developer.apple.com/documentation/swiftui/view/scrolltargetlayout(isenabled:)
scrollTargetLayout(isEnabled:) | Apple Developer Documentation
Configures the outermost layout as a scroll target layout.
developer.apple.com
https://developer.apple.com/documentation/swiftui/view/scrolltargetbehavior(_:)
scrollTargetBehavior(_:) | Apple Developer Documentation
Sets the scroll behavior of views scrollable in the provided axes.
developer.apple.com
https://medium.com/@myshkinasasha/swiftui-scrollview-with-paging-ios17-and-below-a293766e19e8
SwiftUI ScrollView with paging iOS17 and below
From iOS17, SwiftUI is finally getting modifier to add ScrollView paging behaviour 🎉 FI-NA-LLY.
medium.com
